Gas Range Installation Guide: The Real Process, Including Propane Conversion
What actually happens on a gas range install — peek-first rule, how to handle copper vs. flex connectors, full propane conversion, the orifice tape trick, and soapy water every single time.
🧰 Tools & Materials Needed:
Gas Range Installation Guide: The Real Process, Including Propane Conversion
Gas range installs are not the same as electric. There are more ways for them to go wrong, most of them invisible until someone smells gas at 2 AM. This guide covers what I actually do on every gas range swap — the peek-first rule, how to deal with copper vs. flexible connectors, full propane conversion (orifices and regulator), the tape trick for swapping orifices, and why soapy water isn’t optional.
Open the New Unit First
Before you touch the old range, open the new unit and inspect it. Check for shipping damage. More importantly: check whether it’s configured for natural gas or propane, and whether a conversion kit is included if you need to switch fuels.
Gas ranges ship configured for natural gas. If you’re on propane, you need the conversion kit. Do not assume it came with one — verify before demo starts. If there’s no kit, stop and order it. Running an unconverted range on the wrong gas type is a safety issue, not just a performance issue.
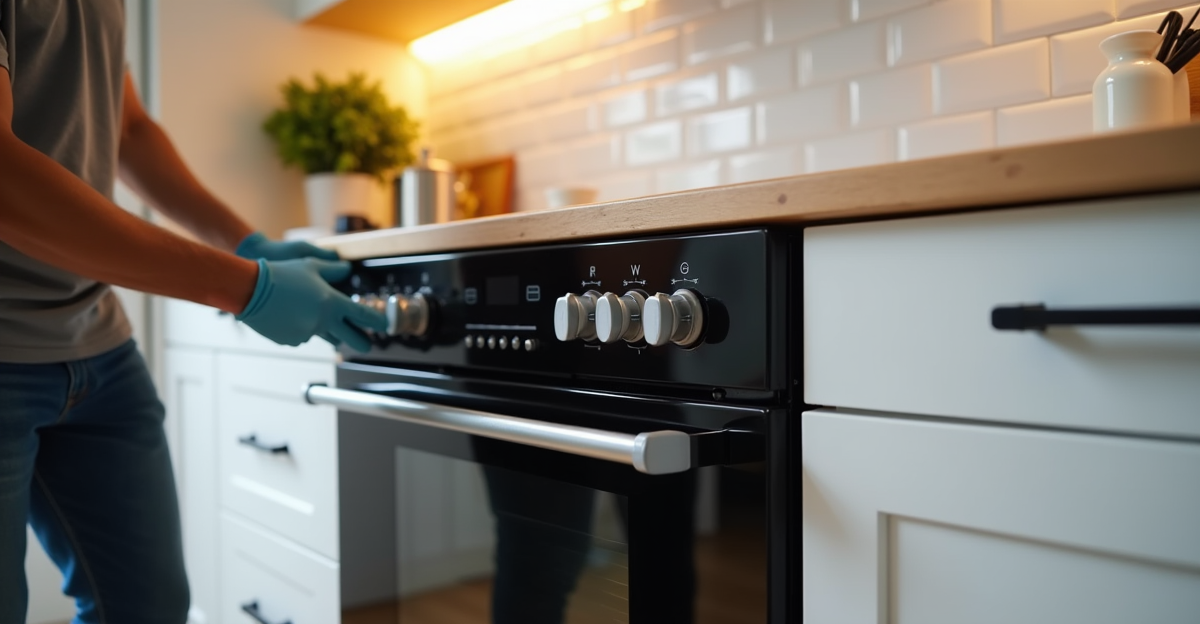
Lighten the Load
Ranges are heavy. Before you move anything:
- Pull all burner grates and caps
- Remove all knobs
- Lift the oven door off the hinges (open to the first stop and lift straight up)
- Pull the storage or warming drawer out
That’s 20–30 pounds you don’t have to carry. On a cast-iron grate setup it’s even more. Take everything off before you start moving the unit.
The Peek-First Rule — Don’t Skip This
This is the step that protects the existing gas line. Pull a gas range without looking first and you might be dragging against a copper supply line that runs tight to the back of the appliance. Yank it hard enough and you’ve kinked or cracked it. A damaged copper gas line is a replacement job, not a patch job.
Before you pull the old range more than a few inches, stop and look behind it. Use a flashlight. You’re checking how the gas supply line is routed:
- Flexible stainless connector with slack → you’ve got room to work. Pull the range out normally.
- Rigid copper pipe run tight to the back → move slowly, work within the length of that line, and handle the disconnection carefully.
The gas shutoff valve is usually at the wall behind the range or in a cabinet to the side. Turn it off before you disconnect anything.
Disconnecting the Gas Line
When you disconnect the supply line fitting, put one hand on the fitting or the shutoff valve to stabilize it while the other hand works the wrench. Don’t let the valve body twist on its seat — especially on older copper connections that haven’t been moved in years.
Work slowly. Wiggle the line slightly as you loosen the nut. You want to feel if there’s tension before you apply more force. Have a towel ready for any residual gas smell — that’ll dissipate quickly once you crack the fitting and the line pressure releases.
Use a hand truck to move both the old range out and the new one in. Don’t carry it. Ranges are awkward and heavy, and there’s almost always a door frame or a step somewhere in the path.
Natural Gas vs. Propane — Full Conversion Process
Every range ships set up for natural gas. If your home runs on propane (LP), the conversion requires two separate steps. Doing only one of them will still result in a range that doesn’t work correctly.
Step 1: Swap the Orifices
The orifices are small brass fittings at the base of each burner. They control gas flow. LP orifices are smaller than natural gas orifices because propane burns at higher pressure. If you run LP gas through a natural gas orifice, the flame will be massive and dangerous. Natural gas through an LP orifice gives you a weak, incomplete burn.
The conversion kit includes orifices for each burner and a chart showing which one goes where. The burners are different sizes — make sure you match them.
The tape trick: Before you unscrew each orifice, wrap a small piece of electrical tape around the tip of the socket you’re using. The tape gives the socket just enough grip to hold the orifice as it comes free, so it doesn’t fall into the burner box. If an orifice drops inside the range body, you’re removing the whole cooktop assembly to fish it out. The tape takes five seconds. Don’t skip it.
Once all orifices are swapped, check each one against the conversion chart before reassembling.
Step 2: Flip the Regulator
The gas pressure regulator is a separate step — and the one most people miss. It’s typically a cylindrical fitting on the gas inlet at the back or bottom of the range. To convert: remove the cap, rotate or flip the internal valve body according to your model’s instructions, and replace the cap.
The exact method varies by model but the principle is the same on every range. Check the conversion instructions that came with the kit. Missing this step means the range will have pressure problems even after you’ve swapped all the orifices correctly.
Thread Sealant on Every Gas Connection
For all threaded gas connections, use pipe dope rated for gas (or yellow gas-rated PTFE tape). Apply it to all male threads before you make the connection. I use enough to fully fill the threads — I don’t put on a thin coat and hope it holds. Thread sealant is cheap. A gas leak is not.
Soapy Water Test — Every Time, No Exceptions
After every gas connection is made and before the range goes back against the wall, test every joint with soapy water. Brush it on generously. Turn the gas on slowly. Watch every connection for bubbles.
Bubbles = leak. No bubbles = you’re done with that connection.
This test catches leaks that smell tests miss. Run it on every connection you touched — the supply line fitting at the range, the shutoff valve connection if you disturbed it, any adapter fitting in the line. Don’t skip this step because you think you got it tight. Every gas install I do ends with a soapy water test.
Installing the New Range
Set the Feet Before It Goes In
Adjust the leveling feet while the range is still in front of you — it’s much harder to do once it’s in the opening. Set all four to roughly the right height, check they’re even, and fine-tune after it’s in place.
Route the Gas Line
Route the flexible supply line through the rear of the opening before you push the range in. Connect the supply line to the range’s gas inlet — hand tight first, then snug with a wrench. Don’t overtorque it.
Slide the range in. Level it side-to-side and front-to-back. The front of the range should sit flush with the surrounding cabinetry or counter.
Light Every Burner
Plug in the ignitor cord (standard 120V plug, usually at the rear of the range) and light each burner individually. Every burner should ignite cleanly and hold a steady, properly-shaped flame. If any burner produces an oversized flame, burns yellow, or won’t stay lit, that’s a fuel pressure or orifice issue that needs to be corrected before you leave.
Anti-Tip Bracket
Install the anti-tip bracket per the range’s instructions. This is a safety bracket that prevents the range from tipping forward when someone opens the oven with weight on the door. It’s required. Install it.
What My Scope Covers
My gas range scope runs from the existing shutoff valve to the range connection. I’m not running new gas lines, relocating valves, or doing anything upstream of the shutoff. If the shutoff valve itself is the problem, that’s a licensed plumber call.
Propane conversions using the kit that comes with the range are included. If the range doesn’t come with a kit, that needs to be sourced before install day — I’m not doing a conversion with the wrong kit.
When to Call a Pro
If you’ve never worked with gas lines, call someone. This isn’t a “watch one YouTube video and dive in” job. The cost of getting it wrong — a slow leak you don’t smell until someone lights a match — isn’t worth the savings.
If you’re in Macon, Milledgeville, Perry, or middle Georgia, I do gas range installs for a flat rate. Call (478) 280-4099 or book at proapplianceinstalls.com.
Pro Install Guy is your local appliance installation specialist serving Macon, Milledgeville, Perry, and middle Georgia. Book an install at proapplianceinstalls.com or call (478) 280-4099.