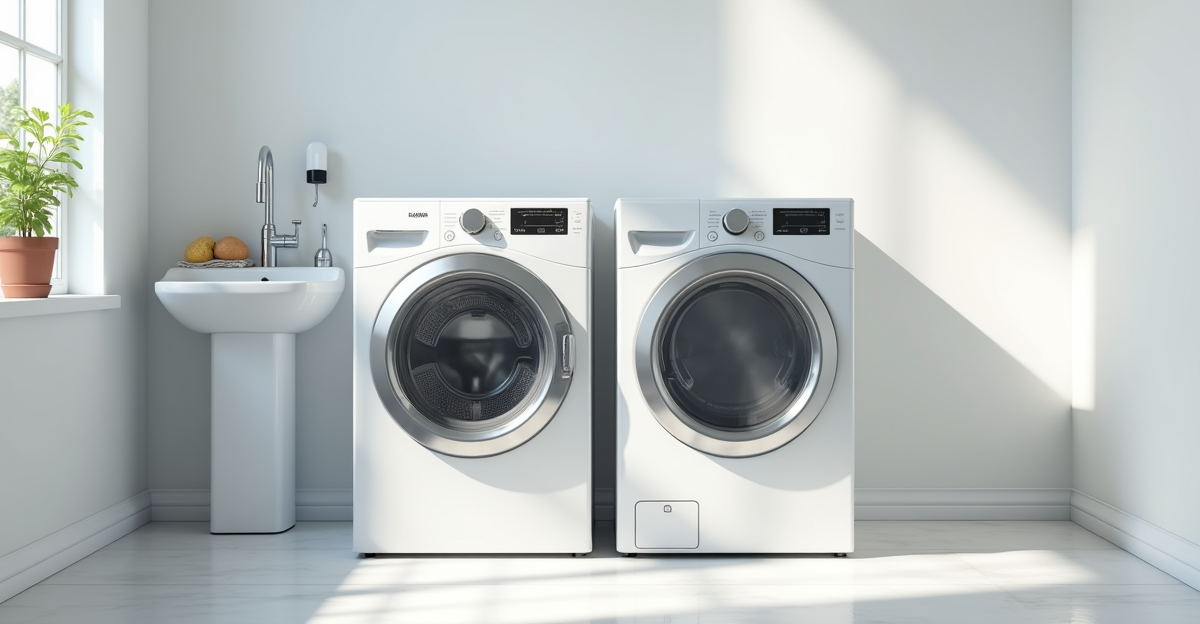
Washer & Dryer Installation: The Complete Pro's Guide (Gas and Electric)
A professional installer's guide to washer and dryer installation — hookup requirements, venting, leveling, gas connections, and the mistakes that cause floods and fires. Covers stackable, side-by-side, and laundry closet installs.
🧰 Tools & Materials Needed:
Washer & Dryer Installation: The Complete Pro’s Guide
Washers and dryers are the installs I get called back on the most. Not because the install itself is hard — it’s usually straightforward. I get called back because the previous installer (or the homeowner) cut corners on the dryer vent, used the wrong supply hoses, or didn’t level the washer properly. Six months later, there’s water on the floor or lint packed behind the wall.
I’ve been installing washers and dryers in middle Georgia — Macon, Warner Robins, Perry, Milledgeville — for years. Here’s the guide I wish every homeowner and junior installer had before they started.
Before You Touch Anything: The Checklist
Washer Requirements
Water supply: You need two dedicated supply valves — hot and cold. They should be quarter-turn ball valves, not the old multi-turn gate valves. If you’ve got gate valves that are more than 10 years old, they’re a ticking time bomb. They seize, they leak, and they fail when you need them most. I replace gate valves on roughly every third washer install I do.
The valves should be accessible without moving the washer. A recessed washing machine outlet box (the blue or white box recessed into the wall) is the gold standard. It puts the valves and drain at the proper height and keeps the hoses from getting kinked behind the machine.
Supply hoses: Braided stainless steel. Period. Not the rubber hoses that come in the box with most washers. Rubber hoses degrade, bulge, and eventually burst. When a washer supply hose bursts, it dumps 3-5 gallons per minute onto your floor. I’ve seen $15,000 in water damage from a $4 rubber hose. The stainless braided ones from Lowe’s run about $12 each. Buy them. Replace them every 5 years even if they look fine.
Drain: You need a standpipe or laundry sink. The standpipe should be 2” diameter, standing 18-42 inches above the floor. The washer drain hose tucks into the top of the standpipe but should NOT be sealed — it needs an air gap to prevent siphoning. If the drain hose is pushed too far down into the standpipe, the washer will siphon water out during the fill cycle and never actually fill.
Electrical: Standard 120V, 20-amp dedicated circuit for the washer. Most washers draw 10-12 amps. The outlet should be a 3-prong grounded receptacle within 6 feet of the washer’s power cord.
Dryer Requirements — Electric
Circuit: 240V, 30-amp dedicated circuit. This is non-negotiable and non-shared. The outlet is either a 3-prong (NEMA 10-30, older homes) or 4-prong (NEMA 14-30, homes built after 2000 or updated to current code).
The 3-prong vs 4-prong situation: Current NEC code requires a 4-prong outlet for new installations. The 4-prong setup separates the neutral and ground wires, which is safer. But here’s the real-world truth: most homes in Georgia built before 2000 have 3-prong outlets, and it’s perfectly legal to use a 3-prong cord on a new dryer in an existing installation. The dryer comes with a 4-prong cord. You’ll need to either change the outlet (the right way) or change the cord (the common way).
If you change the cord, you MUST move the ground bonding strap or wire on the dryer’s terminal block. On a 4-prong setup, the ground strap is removed (neutral and ground are separate). On a 3-prong setup, the ground strap connects neutral to the dryer frame. Get this wrong and you’ve got a shock hazard. The dryer’s installation manual has a diagram — follow it exactly.
Dryer Requirements — Gas
Gas supply: You need a dedicated gas shutoff valve within 6 feet of the dryer location. The gas line should be 1/2” black iron pipe or CSST (corrugated stainless steel tubing). The connection from the valve to the dryer is a flexible gas connector — stainless steel, 3/8” or 1/2” ID, and it MUST be new. Never reuse a gas connector. They’re $15-20 at Lowe’s and they’re designed for one installation only.
Electrical for gas dryers: Gas dryers still need a standard 120V, 15 or 20-amp outlet for the motor, controls, and igniter. Don’t forget this — I’ve shown up to installs where the homeowner ran a new gas line but forgot they still need an electrical outlet.
Gas leak testing: After every gas connection, test with a gas leak detector solution or an electronic sniffer. I use the yellow Rectorseal leak detector spray — brush it on every fitting and watch for bubbles. No exceptions. No shortcuts. A gas leak in a laundry room with a dryer igniter is not something you want to learn about the hard way.
Dryer Venting — This Is Where Everyone Messes Up
The dryer vent is the single most important part of a dryer installation and the part that gets done wrong the most often. Bad venting causes house fires. The CPSC reports over 2,900 dryer fires per year in the US, and the number one cause is failure to clean or improper vent installation.
Rules:
-
Rigid metal duct only. 4-inch diameter rigid aluminum or galvanized steel. Not the white vinyl flex duct. Not the foil flex duct (the crinkly silver stuff). Rigid metal. The flex stuff traps lint in every ridge, restricts airflow, and is a fire hazard. Some local codes allow semi-rigid aluminum for the transition piece (the short section from the dryer to the wall), but the in-wall run should always be rigid.
-
Maximum 35 feet equivalent length. That’s 35 feet total, including deductions for bends. Every 90-degree turn subtracts 5 feet from your allowable length. Every 45-degree turn subtracts 2.5 feet. So if you’ve got two 90-degree bends, your maximum straight run is 25 feet.
-
Vent to the exterior. The vent must terminate outside the house. Not into the attic. Not into a crawl space. Not into the garage. Outside. With a proper vent hood that has a damper (flap) to keep critters out.
-
No screws inside the duct. This is the one I catch other installers on constantly. Those small sheet metal screws that stick into the interior of the duct? Lint catches on them. Use foil tape to join duct sections, not screws. It’s code in most jurisdictions and it’s common sense.
-
Transition piece: The short section of duct that connects the dryer’s exhaust port to the wall vent opening. This is typically the only place where semi-rigid flex is acceptable, and it should be as short as possible. Keep it under 8 feet with no more than one 90-degree turn if you can.
I clean out dryer vents as a side service, and I’ve pulled out lint blocks that were 3-4 feet long and completely solid. One house in Bonaire had a vent that hadn’t been cleaned in 12 years. The entire 20-foot run was packed solid. The dryer was taking 3 cycles to dry a single load and the homeowner thought the dryer was broken.
The Actual Installation
Washer Installation
Step 1: Remove shipping bolts. This is the number one “my new washer sounds like a helicopter” call. Front-load washers ship with 3-4 bolts that lock the drum in place for transport. They’re on the back of the machine. Remove them before you run the first cycle or you’ll damage the suspension system. Keep them — you’ll need them if you ever move the washer.
Step 2: Connect supply hoses. Hot to hot, cold to cold. Hand-tighten plus a quarter turn with pliers. Don’t use Teflon tape on hose thread connections — the rubber washer inside the hose fitting does the sealing. Teflon tape on hose threads can actually prevent the washer from seating properly.
Step 3: Connect drain hose. Insert the drain hose into the standpipe. The hose should go 6-8 inches into the pipe, no more. Secure it with the provided hose clip so it doesn’t vibrate out during the spin cycle.
Step 4: Level the washer. This is critical and most people skip it. An unlevel washer walks, vibrates, bangs, and wears out bearings prematurely. Use a torpedo level on top of the washer, front-to-back and side-to-side. Adjust the front leveling legs — turn counterclockwise to lower, clockwise to raise. Most washers have a self-adjusting rear leg — tilt the washer forward about 4 inches and set it back down. The rear legs should auto-level.
Check for rock. Push on each corner of the washer — it should not rock or tilt. If it rocks, one leg is floating. Adjust until all four legs bear weight.
Step 5: Run a test cycle. Run a quick wash with nothing in it. Check every connection for drips during fill and drain. Watch the spin cycle — excessive vibration means the washer isn’t level or the shipping bolts are still in.
Dryer Installation
Step 1: Install the power cord. Remove the access panel on the back of the dryer to expose the terminal block. Follow the wiring diagram in the manual exactly. Black to the left terminal, red to the right terminal, white (neutral) to the center terminal, and green (ground) to the ground screw (4-prong only). Tighten all connections firmly and replace the access panel.
Step 2: Connect the vent. Attach the transition duct to the dryer’s exhaust port with a 4-inch clamp. Route to the wall vent opening. Connect to the in-wall rigid duct with another clamp. Use foil tape on all joints. Make sure nothing is kinked or crushed.
Step 3: Gas connection (gas dryers only). Apply pipe joint compound (yellow Teflon rated for gas) to the threads of the gas connector. Connect the flexible gas line to the shutoff valve. Tighten with a wrench — don’t use pliers on gas fittings. Open the shutoff valve. Test every joint with leak detector. If you see bubbles, tighten. If it still bubbles, shut off the gas and redo the connection.
Step 4: Level the dryer. Same process as the washer. Level front-to-back and side-to-side. Check for rock.
Step 5: Push into position. Slide both units into their final position. Make sure the dryer vent isn’t kinked or crushed behind the machine. Check that supply hoses aren’t kinked. Verify gas line isn’t stressed.
Step 6: Test. Run the dryer on a timed dry cycle for 10 minutes. Go outside and verify hot air is coming out the exterior vent. If you feel no airflow or weak airflow, you’ve got a venting problem — check for kinks, crushed duct, or a blocked exterior hood.
Stackable and Laundry Closet Installs
Stacking kits are specific to the brand. A Samsung stacking kit won’t work on an LG. Make sure you have the right kit for your specific model pair.
Venting in a closet: Closet installs are the hardest to vent properly because you’re typically limited on where the duct can run. If the vent run is too long or has too many bends, consider a ventless or heat pump dryer. They cost more upfront but they don’t need an external vent at all. I’ve been installing more of these in condos and apartments where venting to the exterior is impossible or impractical.
Door clearance: In a laundry closet, measure your door opening. A 27-inch washer or dryer needs at least 28.5 inches of door width to fit through. Bifold doors and pocket doors can be tricky — make sure they open far enough.
The 5 Mistakes I See the Most
-
Rubber supply hoses. Replace them. Today. I don’t care if they “look fine.” A burst hose at 3 AM while you’re asleep will cost you five figures. Braided stainless. $12 each. Do it.
-
Foil flex duct for the full vent run. The crinkly silver stuff is NOT for in-wall runs. It traps lint, restricts airflow, sags, and it’s a fire code violation in most jurisdictions. Rigid metal in the wall, semi-rigid for the transition piece only.
-
No screws in the vent duct. Sheet metal screws pointing into the duct interior catch lint. Foil tape the joints instead.
-
Forgetting shipping bolts. The banging noise you’re hearing is a drum slamming around inside a washer that still has its shipping hardware in. Remove them.
-
Not testing gas connections. Every. Single. Joint. Gets leak tested. Spray the detector, watch for bubbles, move to the next joint. Takes 2 minutes and prevents the scenario where your laundry room fills with natural gas.
When to DIY vs. Call a Pro
DIY-friendly:
- Swapping like-for-like (electric dryer for electric dryer, same outlet type)
- Washer swap with existing hookups in good condition
- You own a level, adjustable wrench, and know where your water shutoff is
Call a pro:
- Any gas dryer installation if you’ve never worked with gas lines
- Converting from electric to gas (or vice versa) — needs new circuit or gas line
- No existing hookups (new laundry room setup)
- Stacking a washer and dryer (the stacking kit installation matters for safety)
- Venting a dryer through a long or complex path
If you’re in the Macon, Warner Robins, Perry, or middle Georgia area, I handle washer and dryer installs through Pro Appliance Installs. Standard washer/dryer install runs $175-250 depending on the setup. Gas dryer installs are on the higher end because of the testing requirements.
*Pro Install Guy is your local appliance installation specialist serving Macon, Milledgeville, Perry, and middle Georgia. Book an install at proapplianceinstalls.com or call (478) 280-4099.